Home Improvement
Flooring Calculator
Enter your room dimensions, layout pattern, and sq ft per box to get an exact box count — with waste already built in.
Calculate Flooring Needed
Room dimensions
How the Flooring Calculator Works
The formula is straightforward — the waste factor is where most people underestimate.
The Formula
- Room area = length × width (in sq ft)
- Total area = sum of all rooms
- Sq ft to buy = total area × (1 + waste %)
- Boxes needed = sq ft to buy ÷ sq ft per box, rounded up
Waste Factor by Layout
| Layout | Waste Factor | Why |
|---|---|---|
| Straight / Staggered | 10% | Standard row cuts — offcuts reused as row starters |
| Diagonal (45°) | 15% | Angled edge cuts at every wall — offcuts can't be reused |
| Herringbone | 15% | Pattern cuts at joints — more pieces wasted at borders |
| Complex room shape | 15–20% | Extra cuts around islands, alcoves, and obstacles |
Worked Examples
Example 1: Single Bedroom
Room: 12 × 15 ft
Layout: Straight
Box coverage: 20 sq ft/box
Area: 12 × 15 = 180 sq ft
With 10% waste: 180 × 1.10 = 198 sq ft
Boxes: 198 ÷ 20 = 10 boxes
Example 2: Open Living Area
Room: 20 × 25 ft
Layout: Diagonal
Box coverage: 22 sq ft/box
Area: 20 × 25 = 500 sq ft
With 15% waste: 500 × 1.15 = 575 sq ft
Boxes: 575 ÷ 22 = 27 boxes
Example 3: Two Rooms Together
Room 1: 12 × 14 ft (168 sq ft)
Room 2: 10 × 12 ft (120 sq ft)
Box coverage: 18 sq ft/box
Total: 168 + 120 = 288 sq ft
With 10% waste: 288 × 1.10 = 317 sq ft
Boxes: 317 ÷ 18 = 18 boxes
Pro Tips
Expert advice to get better results on your project.
Acclimate flooring before installation
Stack open boxes in the room for 48 to 72 hours before installing. Wood and wood-composite flooring expands and contracts with humidity — installing before it adjusts to your home's climate leads to buckling or gapping later.
Mix boards from multiple boxes as you install
Even within the same dye lot, individual boards vary slightly in shade. Pull from three or four open boxes at once and mix them as you go. The variation becomes invisible, whereas installing one box at a time creates visible bands of color across the floor.
Stagger end joints by at least 6 inches
End joints in adjacent rows should never line up. A minimum 6-inch offset is standard; 12 inches looks better and is structurally stronger. Use cut-off pieces from the end of one row to start the next — this controls waste and handles the offset automatically.
Check moisture before installing over concrete
Concrete slabs release moisture for years after pouring. Use a plastic sheet test or a calcium chloride kit before installing any wood flooring. High moisture content will warp or buckle the floor within months. Most flooring warranties require a passing moisture test.
Leave an expansion gap at every wall
Wood flooring expands and contracts seasonally. A 1/4 to 3/8 inch gap at every wall — covered by baseboards and quarter-round — prevents buckling in summer. Skipping the gap is the number one cause of flooring failures in the first year.
Use a tapping block and pull bar — never a hammer directly
Hitting flooring planks directly with a hammer damages the tongue or groove and creates loose joints that squeak. A tapping block distributes the force. A pull bar handles the last row at the wall where you can't swing the block. Both tools cost under $20 and protect a much larger material investment.
Flooring & Installation Supplies
Underlayment, tools, and top-rated flooring from trusted retailers.

Roberts First Step 3-in-1 Flooring Underlayment — 100 sq ft
3-in-1 foam underlayment with moisture barrier. Works under laminate and most LVP. The attached tape strip makes seaming between rolls faster and cleaner.
~$27

Roberts 50-040 Underlayment Seam Tape — 100 ft
Red tape designed for seaming foam and felt underlayment rolls. Keeps moisture barrier joints sealed and underlayment from shifting during installation.
~$9

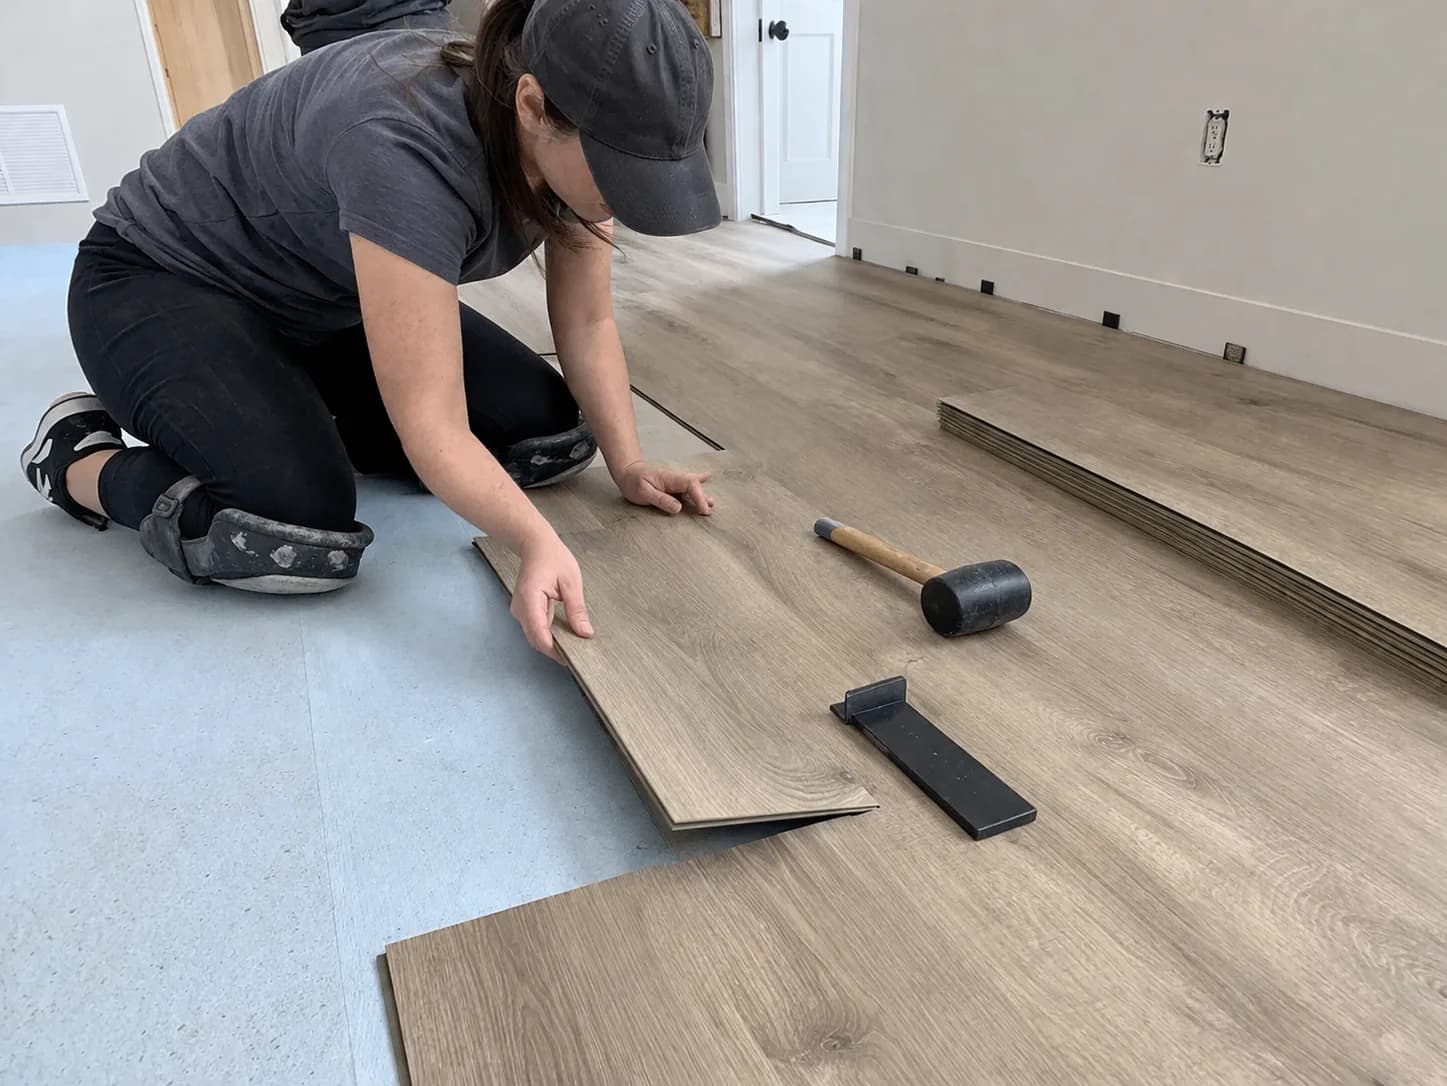
Roberts Pro Comfort Knee Pads
Flooring-specific knee pads with thick foam cushioning. Strapping keeps them in place while you work across the floor. Easier on your knees than a folded towel.
~$18

Roberts Pro Flooring Installation Kit
Tapping block, pull bar, mallet, and 30 spacers in one kit. The tools you actually need for a clean laminate or LVP install. Protects tongue and groove from installation damage.
~$18

Swanson Tool S0101 7-inch Speed Square
For marking square cut lines across planks before cutting. Faster and more accurate than measuring twice with a tape. A basic tool every flooring install needs.
~$12
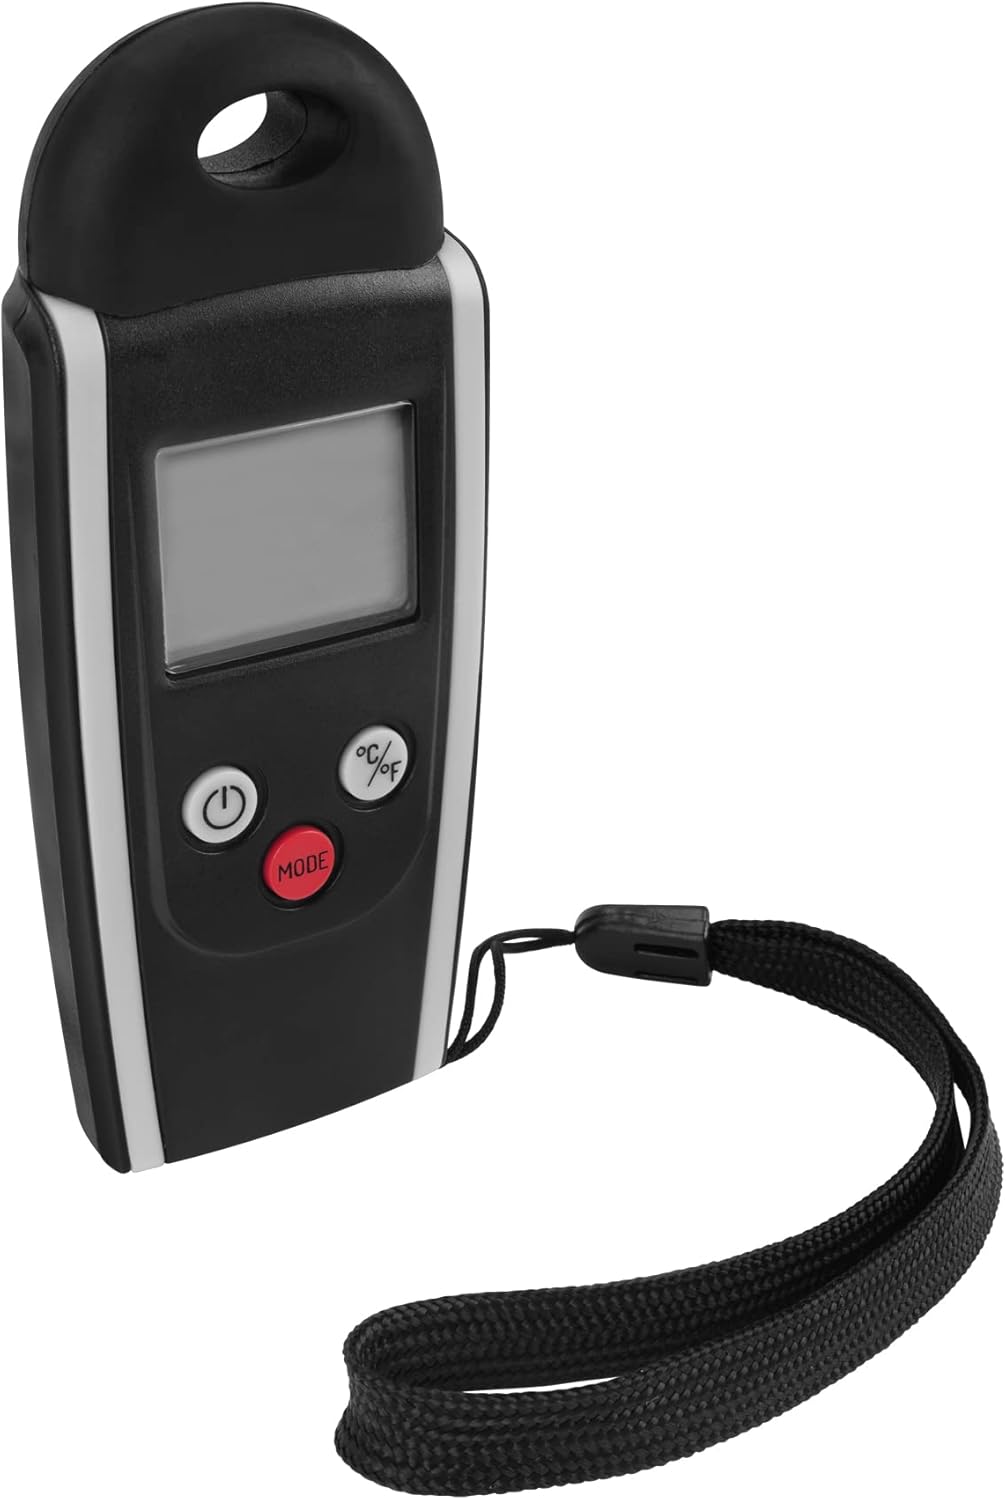
Performance Tool W89718 Digital Moisture Meter
Tests wood and subfloor moisture content before and after acclimation. Required by most flooring warranties on wood installs. Also useful for checking subfloor moisture over concrete.
~$25
* Affiliate links — we may earn a small commission at no extra cost to you.
Frequently Asked Questions
Common questions about calculating flooring quantities.