Home Improvement
Tile Calculator
Enter your area dimensions and tile size to get an exact tile count — with waste factored in for your layout pattern.
Calculate Tile Needed
Area dimensions
How the Tile Calculator Works
We use the same formula tile setters use to estimate material quantities before a job.
The Formula
- Total area (sq ft) = length × width for each space
- Add waste: 10% for straight layouts, 15% for diagonal
- Sq ft to buy = total area × (1 + waste %)
- Tile area (sq ft) = tile width (in) × tile height (in) ÷ 144
- Tiles needed = sq ft to buy ÷ tile area, rounded up
Waste Factor by Layout
| Layout Type | Recommended Waste | Why |
|---|---|---|
| Straight (grid) | 10% | Minimal edge cuts, simple pattern |
| Diagonal (45°) | 15% | Corner cuts waste more tile |
| Herringbone / Chevron | 15–20% | Angle cuts on every piece |
| Small mosaic (under 4 in) | 15% | More perimeter cuts per sq ft |
| Irregular or complex room | 15–20% | Extra cuts around obstacles |
Worked Examples
Example 1: Bathroom Floor
Room: 8 × 6 ft
Tile: 12×12 in
Layout: Straight
Area: 8 × 6 = 48 sq ft
+10% waste: 48 × 1.1 = 52.8 sq ft
Tile area: 12×12 ÷ 144 = 1 sq ft
→ Buy 53 tiles
Example 2: Kitchen Floor, Diagonal
Room: 12 × 14 ft
Tile: 18×18 in
Layout: Diagonal
Area: 12 × 14 = 168 sq ft
+15% waste: 168 × 1.15 = 193.2 sq ft
Tile area: 18×18 ÷ 144 = 2.25 sq ft
193.2 ÷ 2.25 = 86 tiles
Example 3: Entryway + Hallway
Area 1: 6 × 6 ft entryway
Area 2: 4 × 18 ft hallway
Tile: 24×24 in, straight
Total: 36 + 72 = 108 sq ft
+10% waste: 108 × 1.1 = 118.8 sq ft
Tile area: 24×24 ÷ 144 = 4 sq ft
118.8 ÷ 4 = 30 tiles
Pro Tips
Expert advice to get better results on your project.
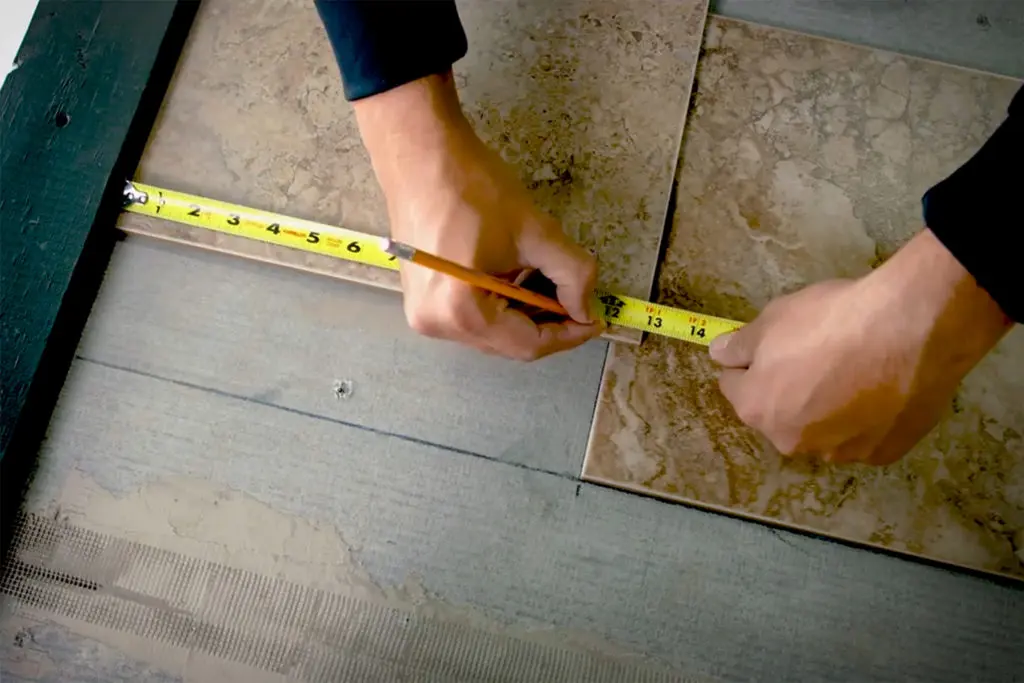
Dry-lay a full section before setting anything
Spread tiles across the floor without adhesive first. You'll catch pattern problems, uneven spacing, and awkward cuts at the walls before anything is permanent. Takes an hour and saves you from a tile saw situation you didn't see coming.
Start from the center, not the corner
Snap chalk lines through the midpoint of the room in both directions. Starting from center means cuts at opposite walls are symmetrical. Starting from a corner means one wall gets full tiles and the opposite gets a sliver that looks like a mistake.
Check dye lot numbers before you leave the store
Tile color shifts slightly between production runs. All your boxes need the same dye lot number printed on the label. Pull boxes from different pallets if you have to, and verify before you load them in the car.
Match your trowel notch size to the tile size
Tiles under 12 inches work with a 3/16 inch V-notch. Tiles 12 to 18 inches need a 1/4 by 3/8 inch square notch. Larger format tiles need a 1/2 inch square notch. Using too small a trowel is one of the main reasons large tiles crack after installation.
Seal stone and unglazed tile before grouting
Grout will permanently stain porous tile surfaces if you don't seal first. Apply penetrating sealer, let it cure fully, then grout. A second coat of sealer after grouting locks everything in.
Wait the full 24 hours before grouting
Thinset needs to cure before it can hold a grout joint properly. Walking on or grouting over uncured thinset shifts tile position and weakens the bond. For large format tiles or heated floors, wait 48 hours.
Ready to Buy Tile & Supplies?
Shop thinset, grout, tools, and tile from trusted retailers.
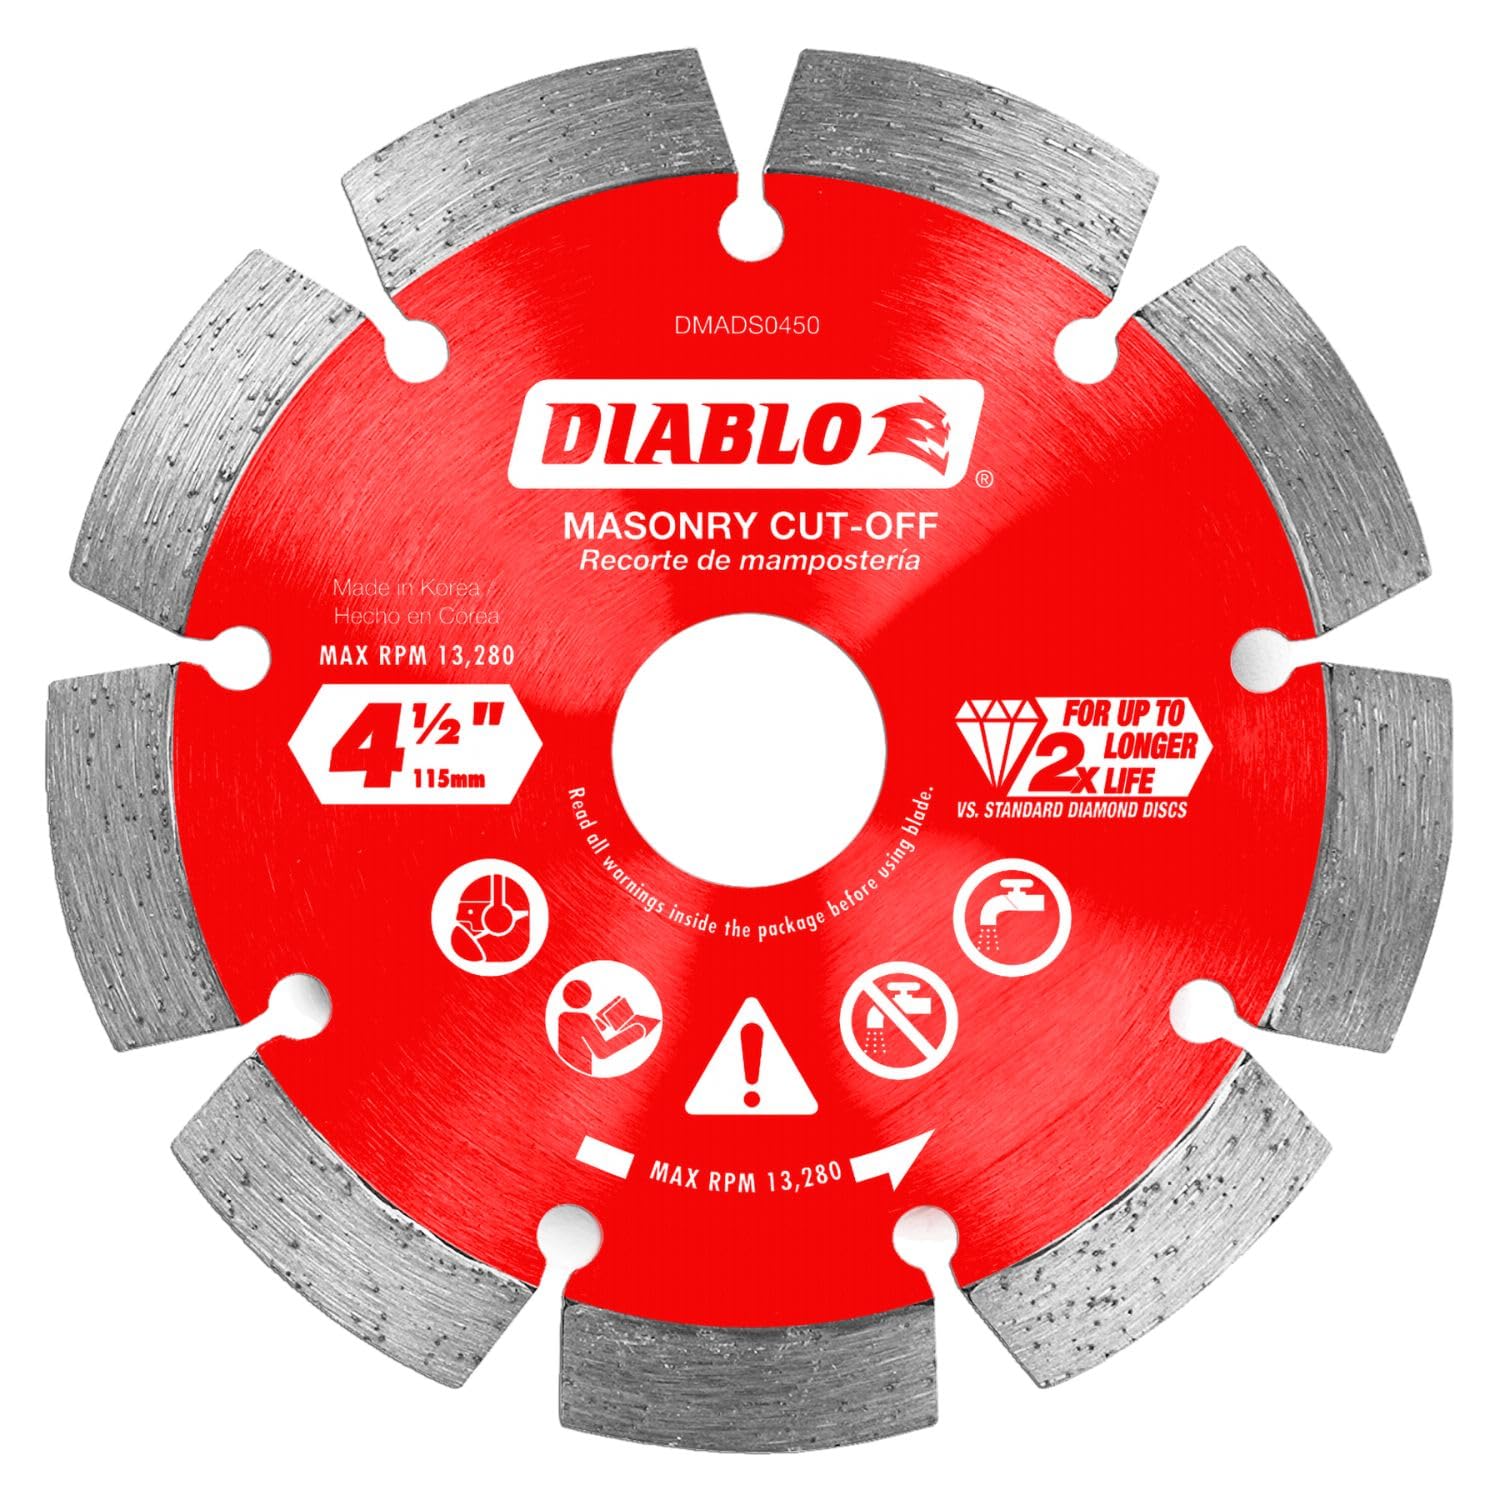
Diablo DMADS0450 4-1/2 in. Diamond Blade
Segmented rim diamond blade that pairs directly with the DEWALT angle grinder above. Cuts ceramic, porcelain, and stone. Lasts significantly longer than abrasive blades.
~$18
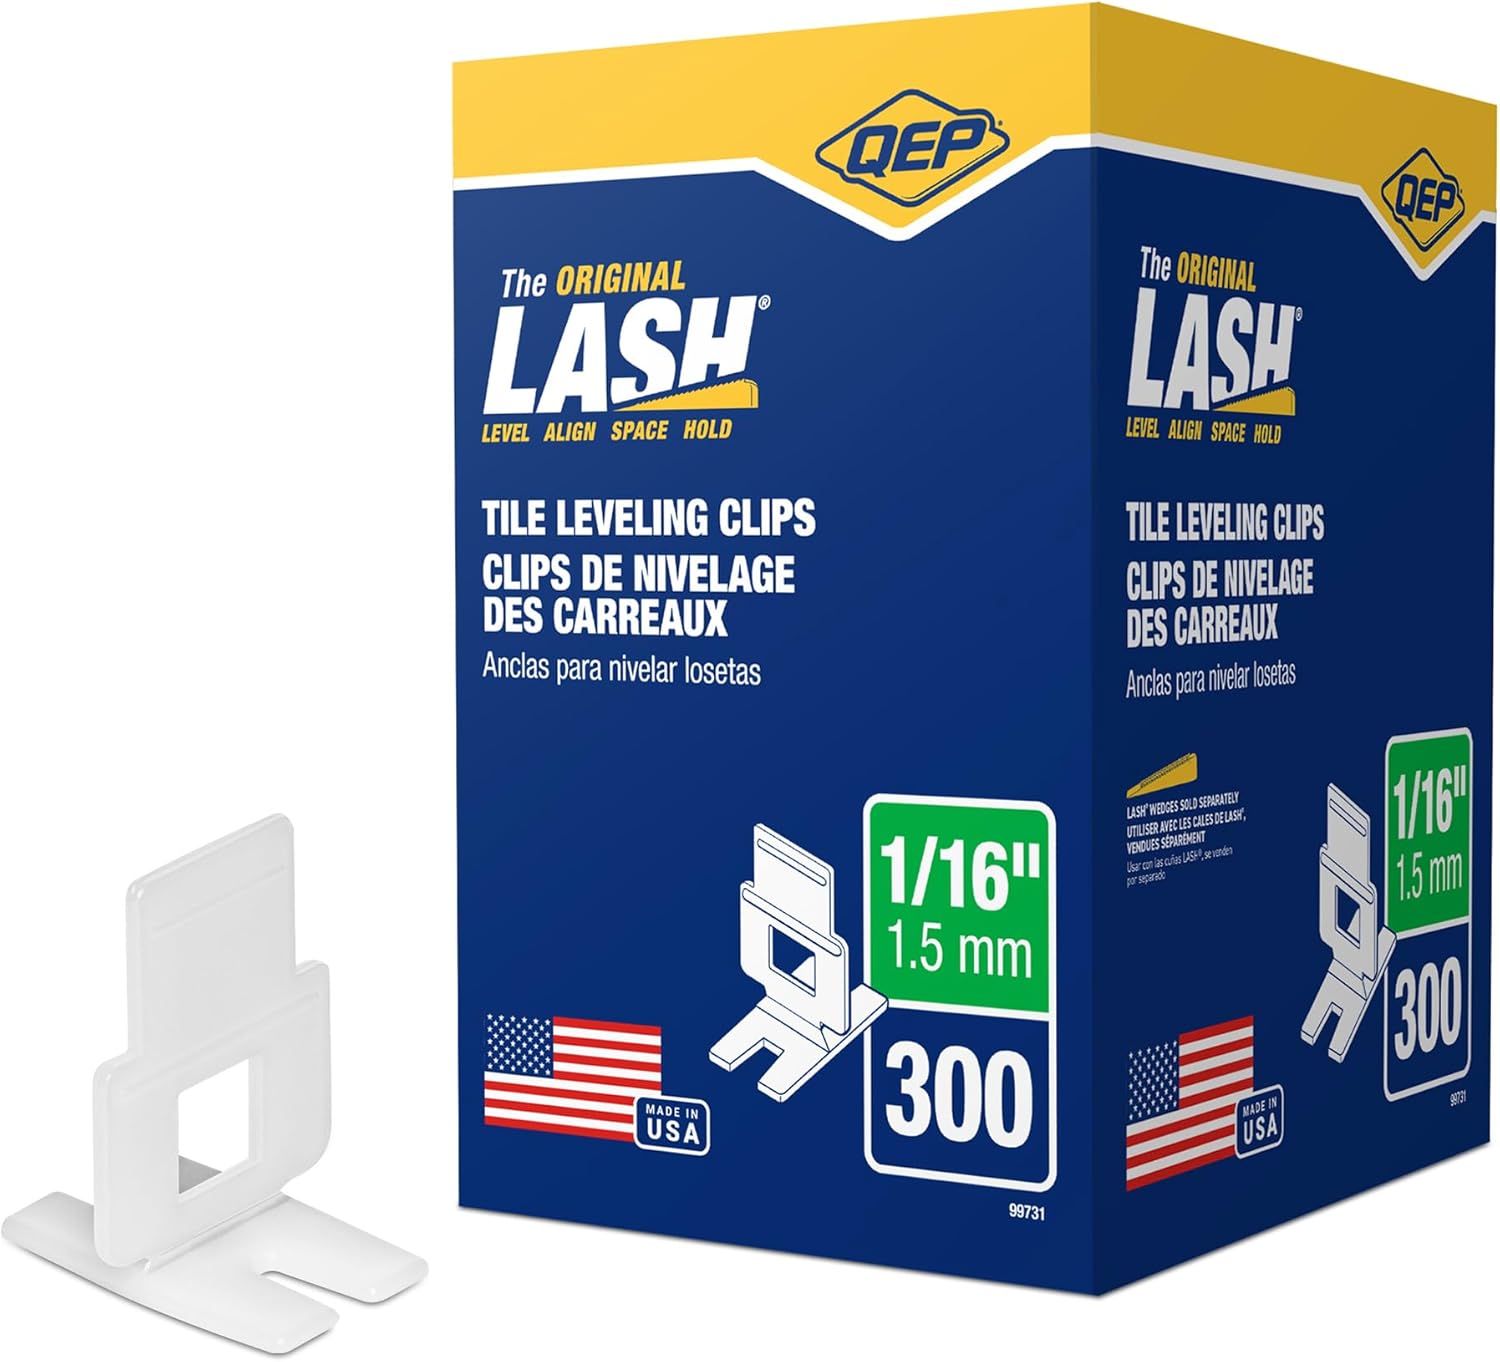
QEP LASH Tile Leveling System Clips — 300 Pack
Keeps large-format tiles flush during installation — eliminates lippage without constant checking. Use with QEP wedges. Clips stay in until thinset cures, then snap off at the base.
~$20
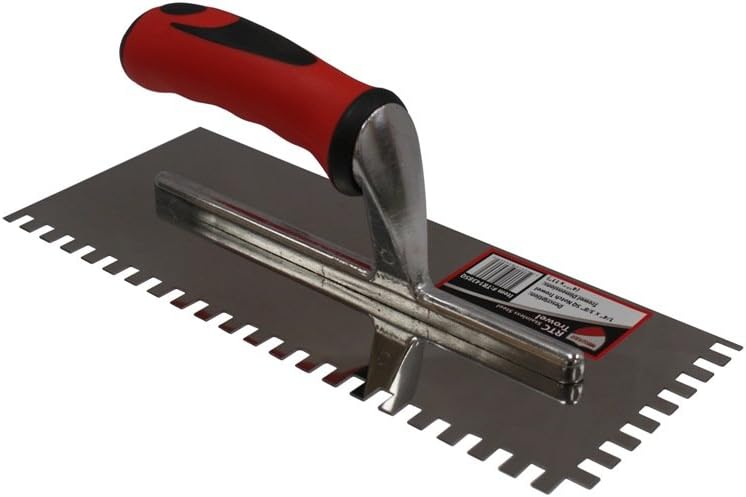
RTC 1/4" × 3/8" Square-Notch Stainless Steel Trowel
Right size for 12 to 18 inch floor tile. Stainless steel blade, comfortable grip. The notch size makes a real difference in adhesive coverage.
~$16

DEWALT DWE4011 4-1/2 inch Angle Grinder
Pair with a diamond blade for straight cuts on ceramic, porcelain, and stone. More practical than a tile saw for small jobs or spot cuts.
~$69

QEP 3/16" Tile Spacers (500-Pack)
Buy more than you think you need. They disappear into corners and under cabinets constantly. The 3/16 size works for most floor tile; go smaller for wall tile.
~$8

Aqua Mix Sealer's Choice Gold, Quart
Penetrating sealer for natural stone, unglazed tile, and grout lines. Apply before grouting to protect porous surfaces, then again after for a complete seal.
~$28
* Affiliate links — we may earn a small commission at no extra cost to you.
Frequently Asked Questions
Common questions about estimating and buying tile.