Step 1: Calculate how much paint you need
Before anything else, measure the room and run the numbers. Buying too little means a second trip mid-job when the color is mixed and the batch might not match. Use the paint calculator to get an accurate gallon count based on your wall area, number of coats, and any doors or windows you're working around.
Step 2: Prep the room
This is the part most people rush, and it's where most paint jobs go wrong. Good prep is 40% of the finished result.
- Move furnitureGet as much out of the room as possible. What stays gets pushed to the center and covered with a drop cloth. Paint sprays and rolls farther than you think.
- Clean the wallsWipe down with a damp cloth or a TSP substitute. Pay extra attention to areas near the stove, above headboards, and around light switches.
- Fill holes and cracksUse spackling compound for nail holes and small cracks. Let it dry completely, then sand flush. Skipping this step shows through paint.
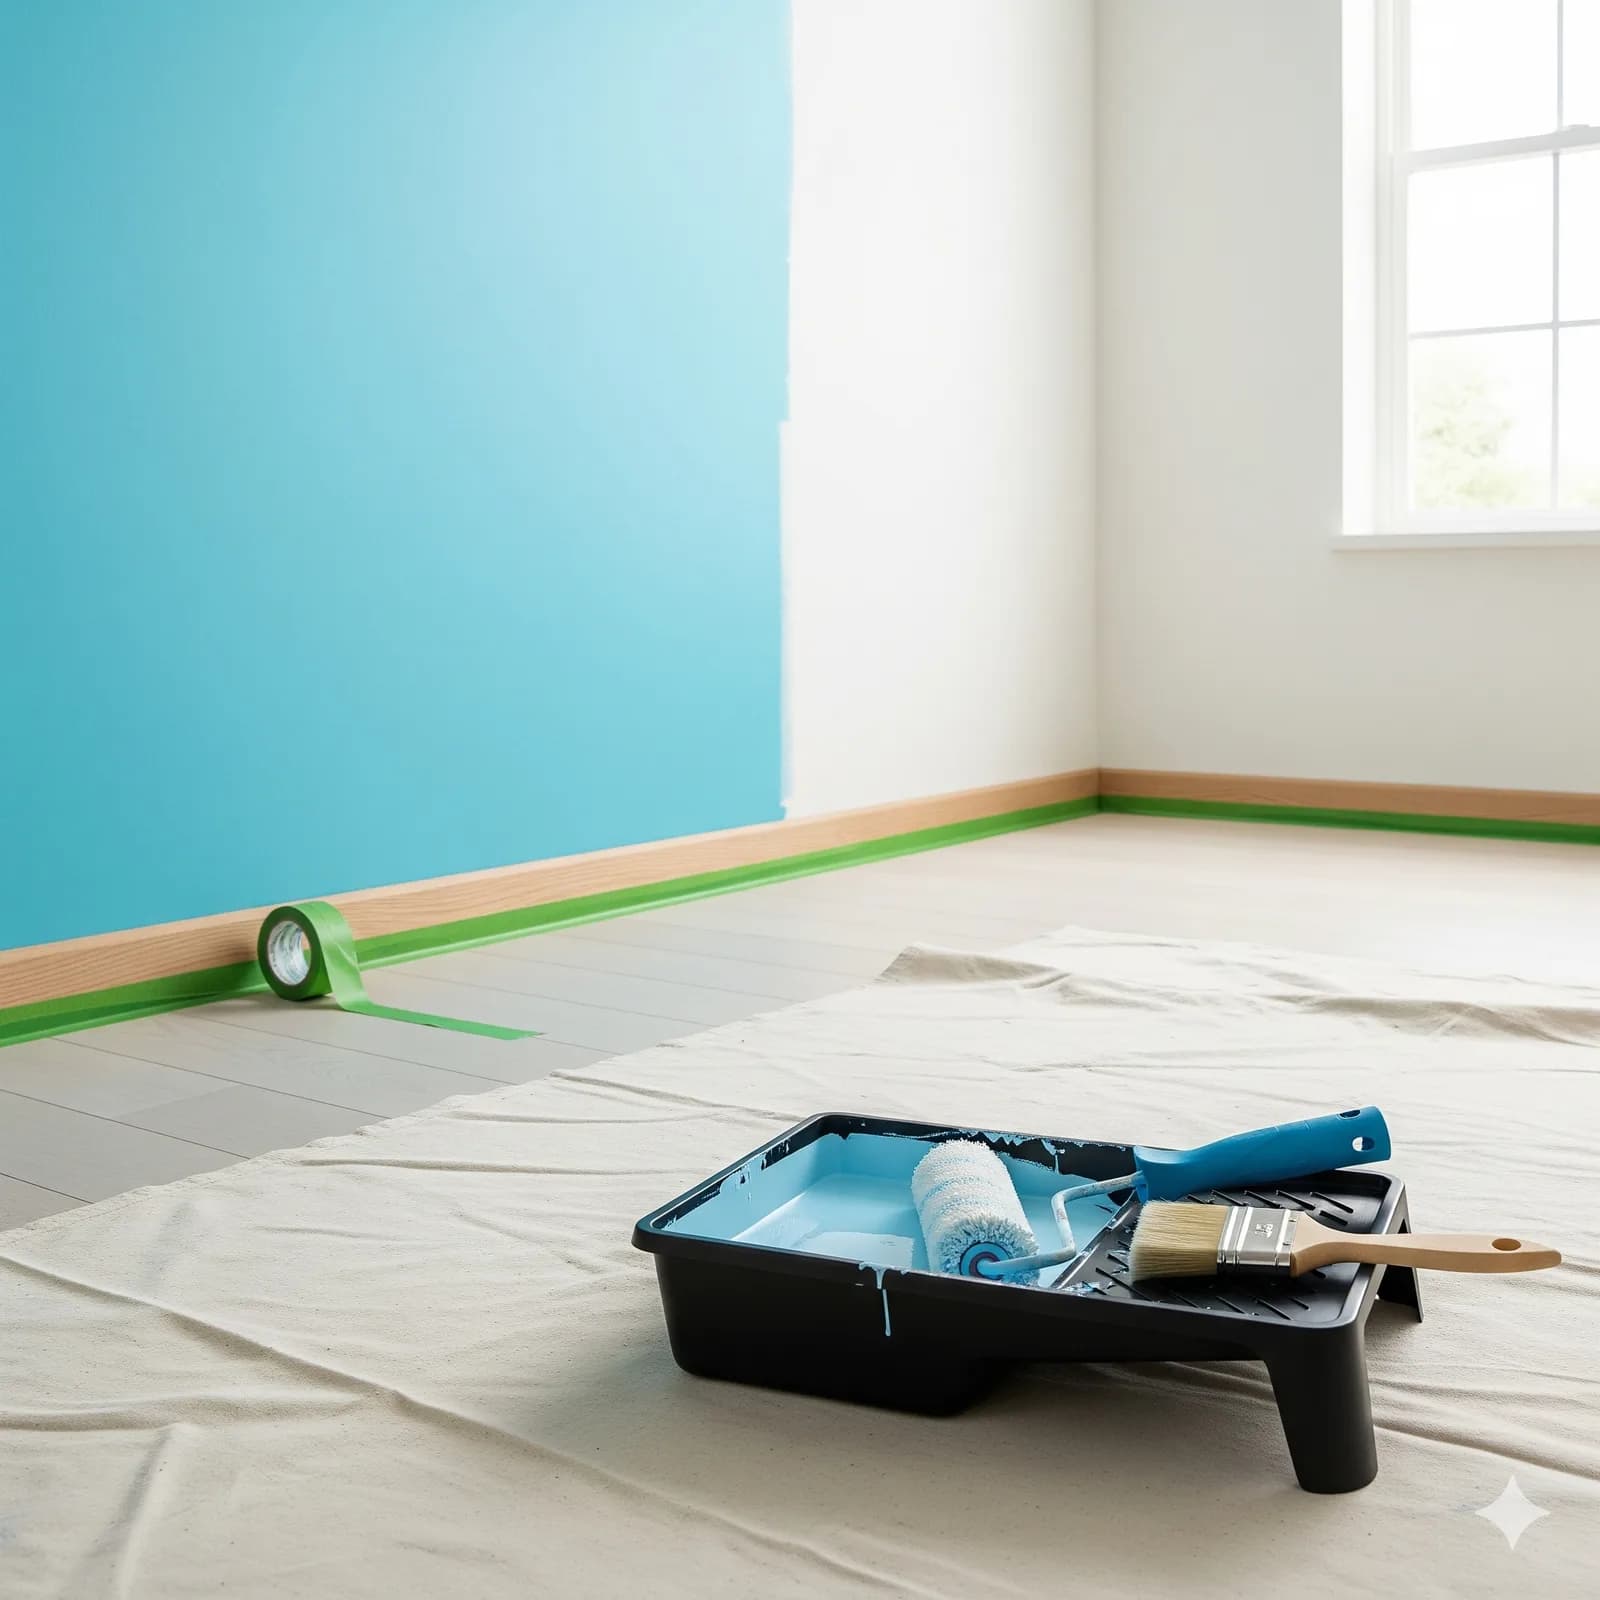
- Tape trim and edgesApply painter's tape to baseboards, window trim, door frames, and the ceiling line. Press the edge down firmly with a putty knife so paint can't bleed underneath.
- Remove outlet coversTakes 30 seconds per cover and gives a cleaner result. Bag the screws so they don't disappear into the drop cloth.
Step 3: Prime if needed
Primer isn't always necessary. Skip it if you're doing a same-color repaint on clean, non-glossy walls. Use it for:
- Bare or freshly patched drywall
- Drastic color changes (especially dark to light)
- Stains from water damage, smoke, or markers
- Glossy surfaces that need tooth for the new paint to grip
A coat of primer takes less time than an extra coat of paint and often costs less. On bare drywall especially, skipping it means three coats of paint instead of one coat of primer and two coats of paint.
Step 4: Cut in the edges
Cutting in means painting the perimeter — ceiling line, corners, trim — with a brush before rolling the open wall area. The brush creates a band about 2 to 3 inches wide that the roller can't reach without touching adjacent surfaces.
Work one wall at a time. Cut in, then immediately roll that wall before the cut-in paint dries. This is the most important technique tip in this guide. When cut-in paint dries before you roll, the overlapping roller coat creates a visible halo along the edges.
Hold the brush like a pencil, not a handle. Load the brush to about a third of the bristle length, and wipe one side against the can to avoid drips. Move in long, steady strokes rather than short scrubbing ones.
Step 5: Roll the walls
Load the roller evenly by rolling it through the tray in both directions. The roller should be saturated but not dripping. Start 12 inches from a corner and roll from floor to ceiling in a single stroke, then come back down overlapping about 4 inches.
Don't apply too much pressure. The roller does the work; you're guiding it. Pressing hard pushes paint under the nap and creates an uneven finish. If you see bare spots, go back while the paint is still wet.
For the final pass on each section, roll lightly from floor to ceiling with minimal pressure to even out the texture. This is called "laying off" and removes the stippling pattern that heavy rolling leaves.
Step 6: Second coat and cleanup
Wait the full dry time before applying the second coat. Pull the tape off at a 45-degree angle while the paint is still slightly soft — not fully cured. Pulling tape off hardened paint tears the edge. If you waited too long, score along the tape line with a utility knife before pulling.
Rinse latex paint brushes and rollers with warm water immediately after finishing. Wrap rollers in plastic wrap between coats so you don't have to clean mid-job. Let brushes dry hanging bristles-down or laid flat, never upright in a cup.


